
Current Setup
- An existing Visual Studio project without any source control links.
- An existing DevOps project with default Repo
Step 1 – Open up existing Visual Studio project and create a local Git Repo
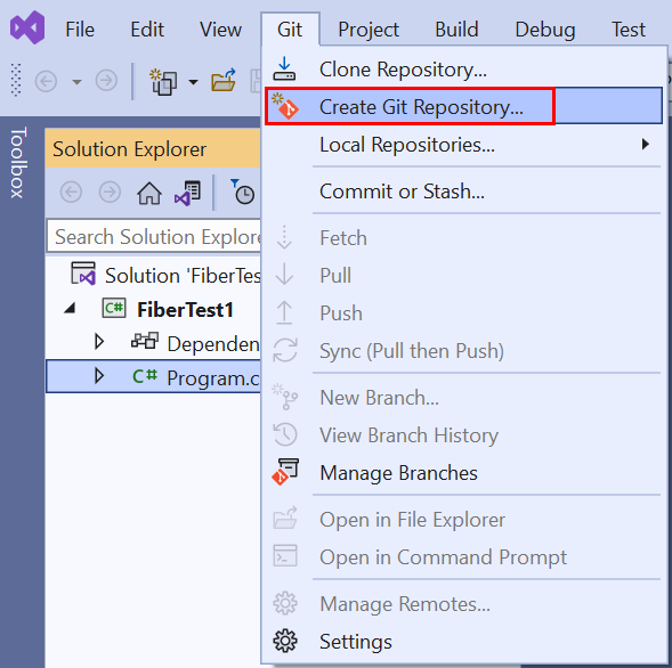
- Create a new local Git repo for your Visual Studio solution, by right-clicking the solution name in Solution Explorer, and then selecting Create Git Repository.
- In the Create a Git repository window, choose Local only, verify the local path is correct, and then choose Create.
You’ve now created a local Git repo in the Visual Studio solution folder and committed your code into that repo. Your local Git repo contains both your Visual Studio solution and Git resources.

Note: The “Create a Git repository” option may be hidden if you have a current project open that is already connected to a repository. If the option is hidden, close Visual Studio, and reopen open Visual Studio without a project.
https://org01@dev.azure.com/org01/TestDevOps01/_git/TestDevOps01
Option 2:
Another option is to create an empty project folder first and use “clone repository” to link the empty project folder to the DevOps project. Then copy the content of an existing project into the empty project.
Step 2 – Push to Git Service
- Connect to an Azure DevOps repo by right-clicking the solution name in Solution Explorer, and then selecting Push to Git service to launch the Create a Git repository window.
- In the Create a Git repository dialog, select Existing Remote. Select the repo of your DevOps project. Then select Push.
Note:
You will have to decide which file(s) to include/exclude with the DevOps project.
local.settings.json – Will be auto excluded from project. Each development machine will need to have it’s own file.
Comments